Wax carving 101
Years ago I worked in fine jewelry manufacturing, where I was responsible for creating new designs, mass producing some items, casting the waxes up in gold or silver, making rubber molds of prototypes, and so forth.
Here is a short promotional video from this manufacturer, Le Monde, that shows the process. Towards the end of the video you will see me treeing up a group of waxes prior to casting and a good demo of how the lost wax casting takes place.
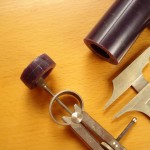
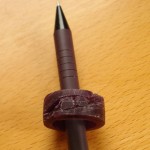
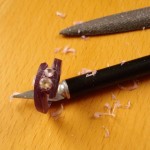
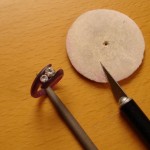
For a step by step demo of the process of carving a wax, I took these photos. First you cut the appropriately sized slice from a tube of hard carving wax. Then sketch the design on the wax, keeping your center lines clearly indicated.
Cut away the excess with saws, Xacto knives and files, working from the inside out; make the finger size right before trimming the outside of the ring shank, make the area to set the stones the exact size needed before trimming excess back towards your central focus.
Refine the shape with files, sandpaper, and polish the wax with a cotton buff, and it is ready for the casting department. Click on any of these photos for an enlarged view.
The secret for creating a beautiful original wax? Imagine the recipient gasping with delight when they open the gift, and work backwards from that gasp. You can see some of my original jewelry creations here, along with some larger sculptural work. (Mouseover the numbers to see them.)


